 "TheRealBicycleBuck" (therealbicyclebuck)
01/19/2020 at 19:46 ē Filed to: None
 10
10
 9
9
 "TheRealBicycleBuck" (therealbicyclebuck)
01/19/2020 at 19:46 ē Filed to: None |  10 10
|  9 9 |
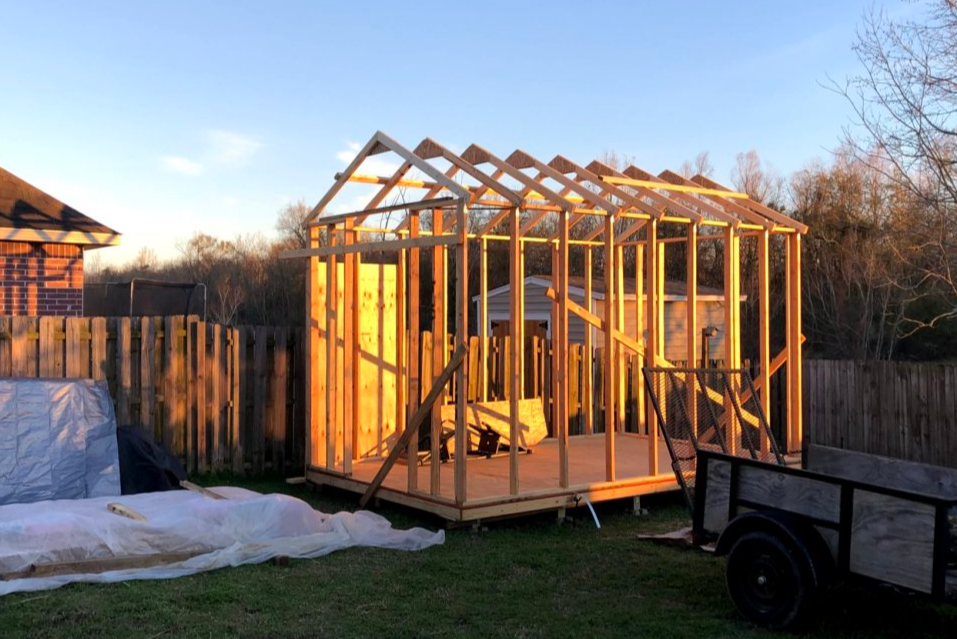
This being a holiday weekend, I had a whole day and a half to work uninterrupted! Saturday morning was rained out, so I couldnít get out there until early afternoon. I started by finishing the front wall.
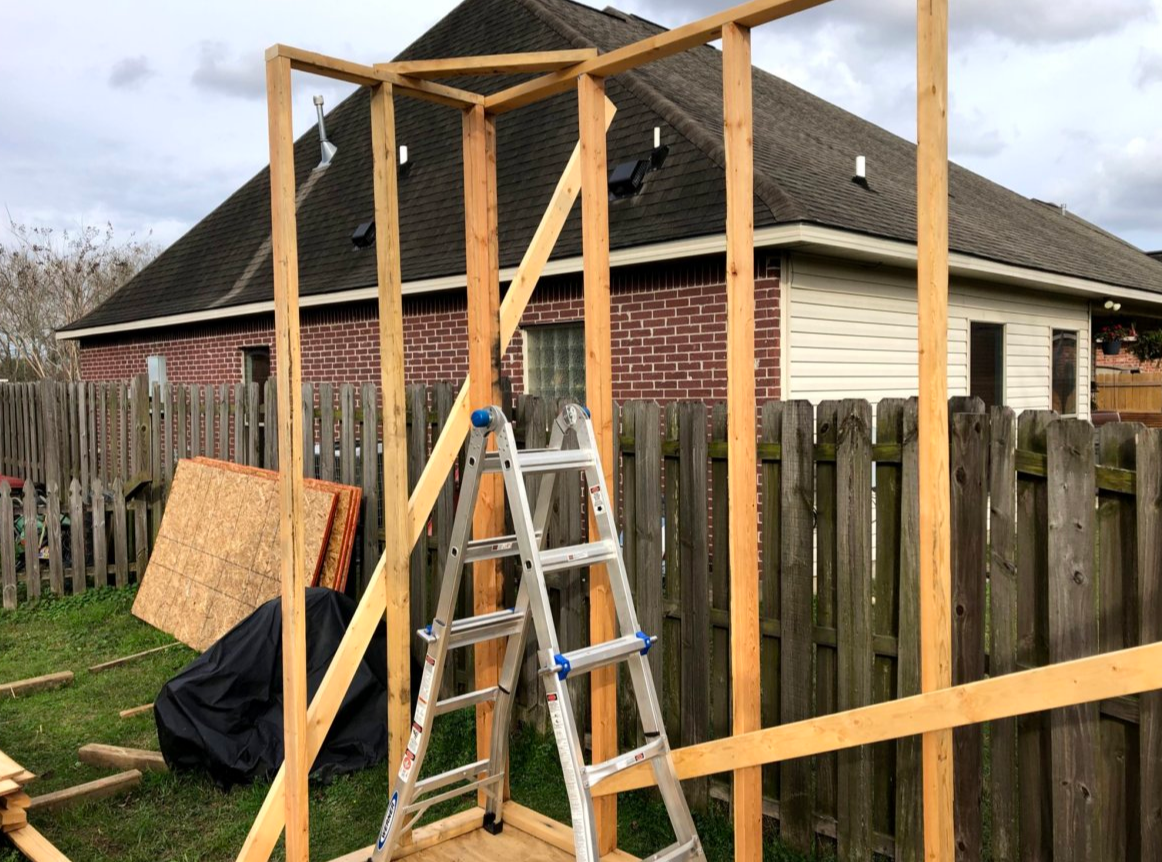
After that, the rest of the daylight
was spent making gussets for the rafters.
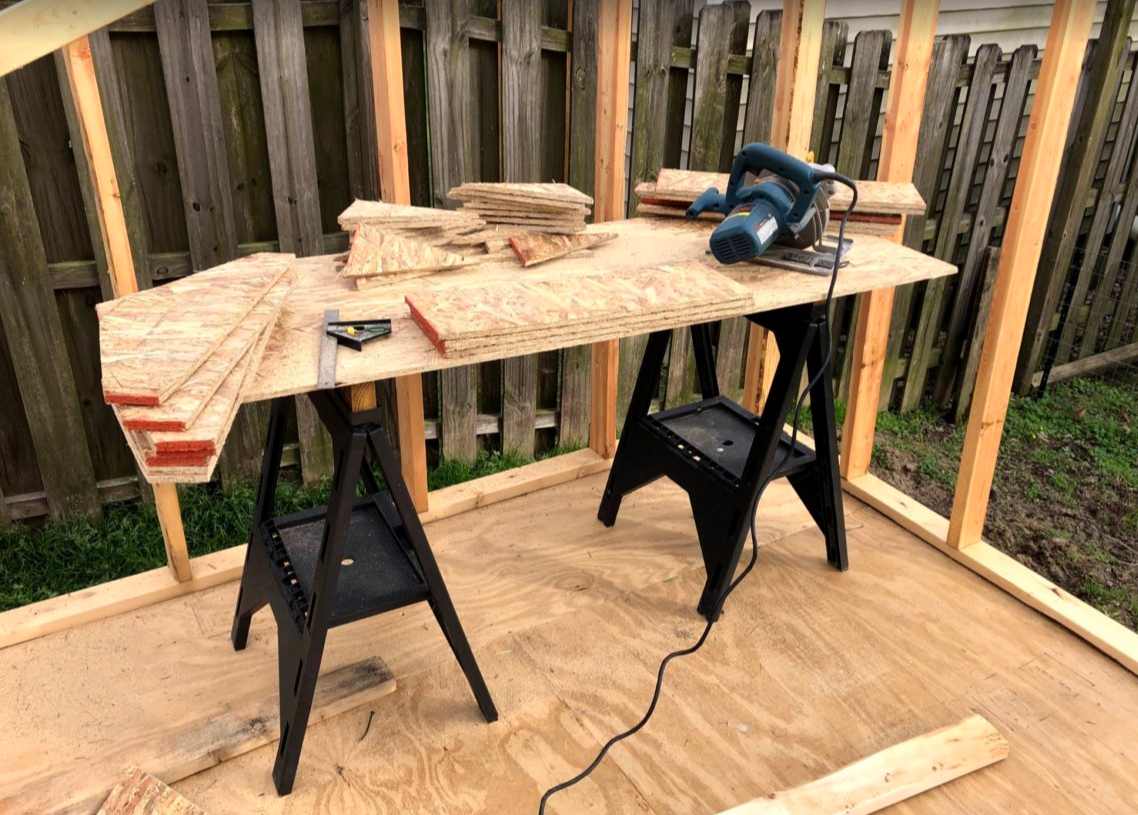
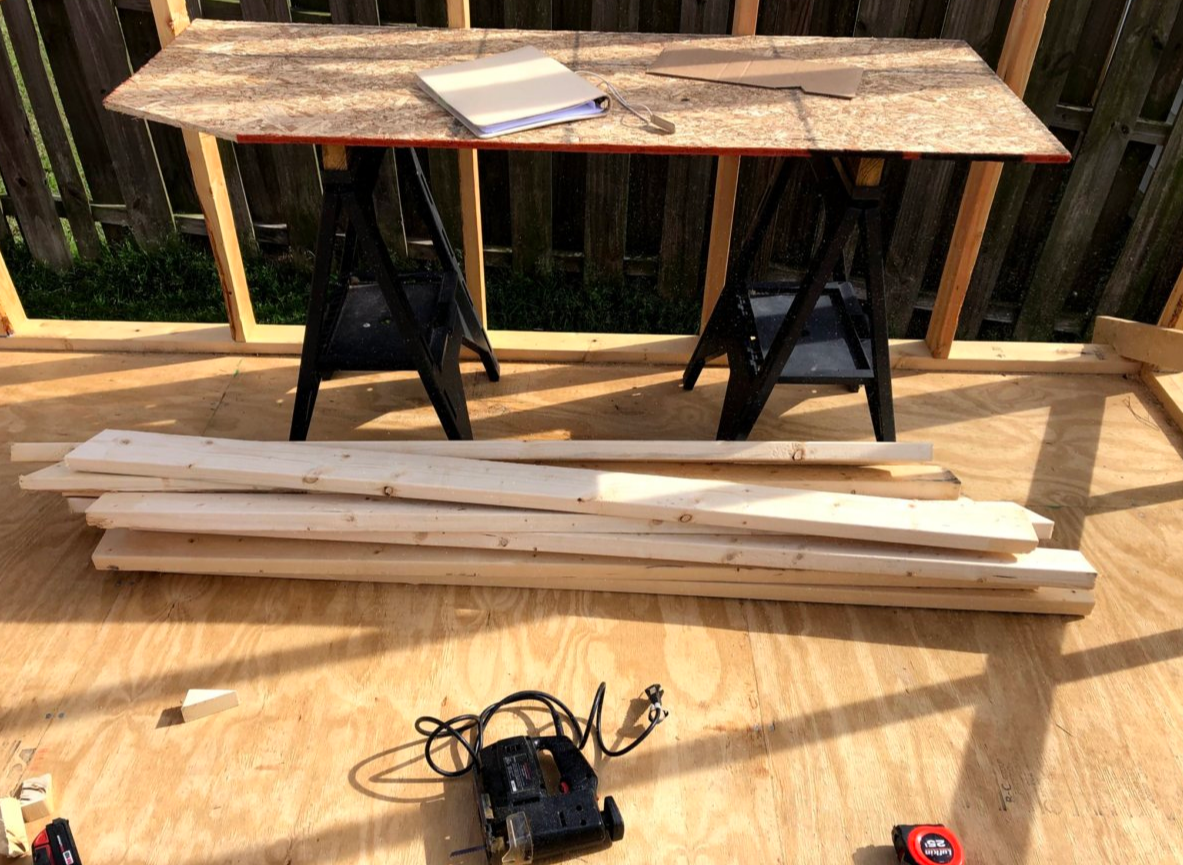
After making one to spec, I used it as the template for all the rest. This would have been a lot easier if I could have located the miter fence for my table saw, but I couldnít, so I cut the parts with my skill saw. All of the gussets were ripped from a 4 x 8 sheet of OSB, the remainder which became a makeshift workbench. The completed gussets are sitting on the left side of the bench.
Sunday arrived with clear skies, bright sun, and a slight chill in the air! It was time to make some rafters! But first, I had to add one piece of siding to square up the wall and provide support. The cross-bracing on that wall was one of the boards destined to become a rafter.
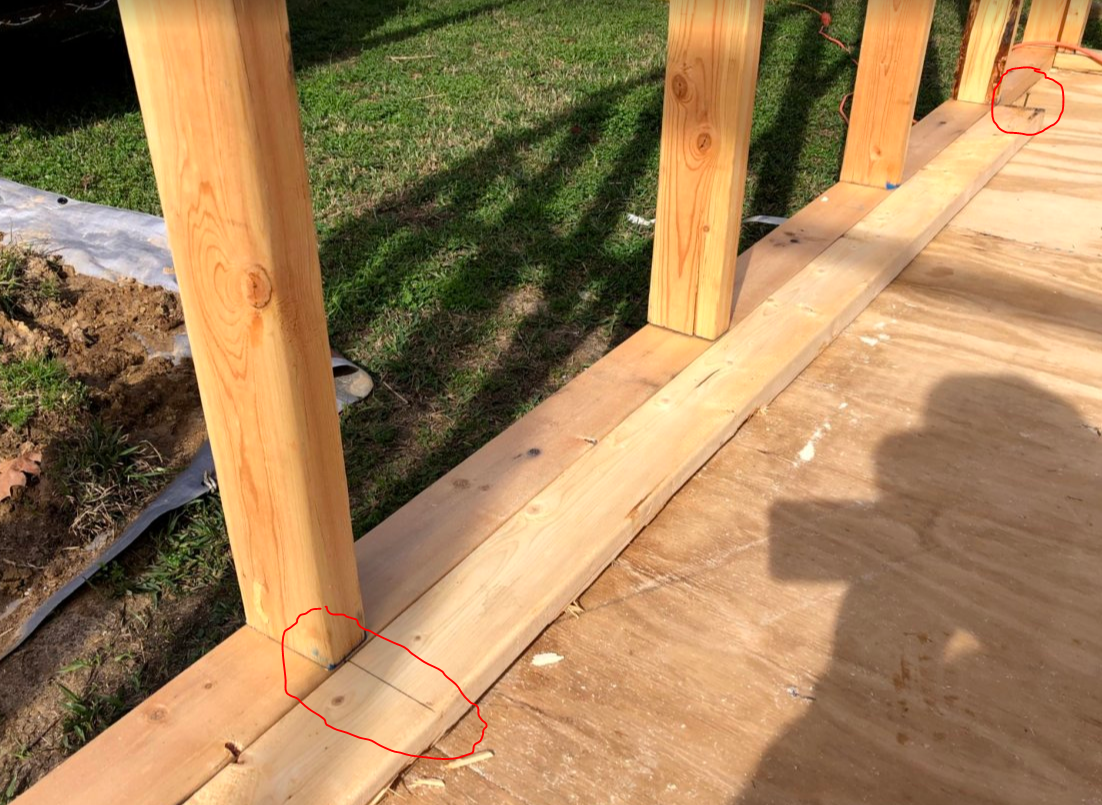
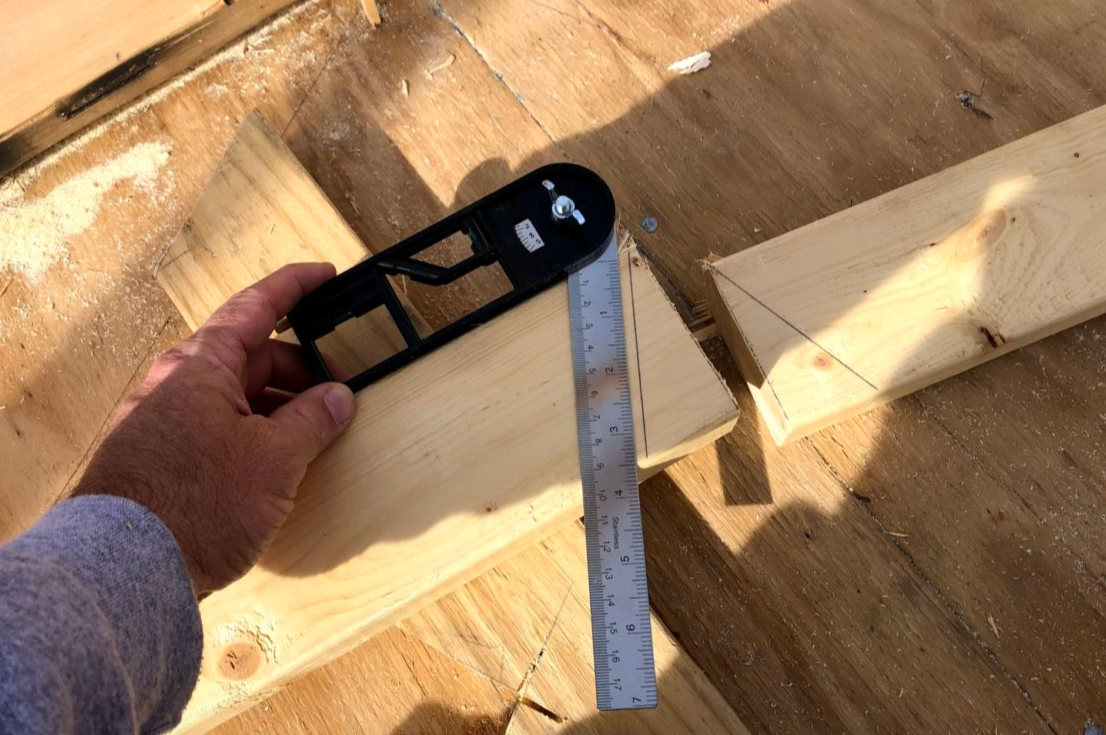
To start making the rafters, I began by marking the center of one of the uncut rafters. After aligning the center with the one of the floor joists and marking the sill plate, I drove a nail into the floor at one end to use as a stop. That made it easy to mark the other rafters - just slide it to the stop and mark it. Once marked, it could be cut. Then I marked two 27į angles and cut those. I only did a couple that way before I realized I could just mark the centerline, use it to mark the angles, then just cut the angles. That saved me a cut and was a little easier than trying to cut off such a small triangle.
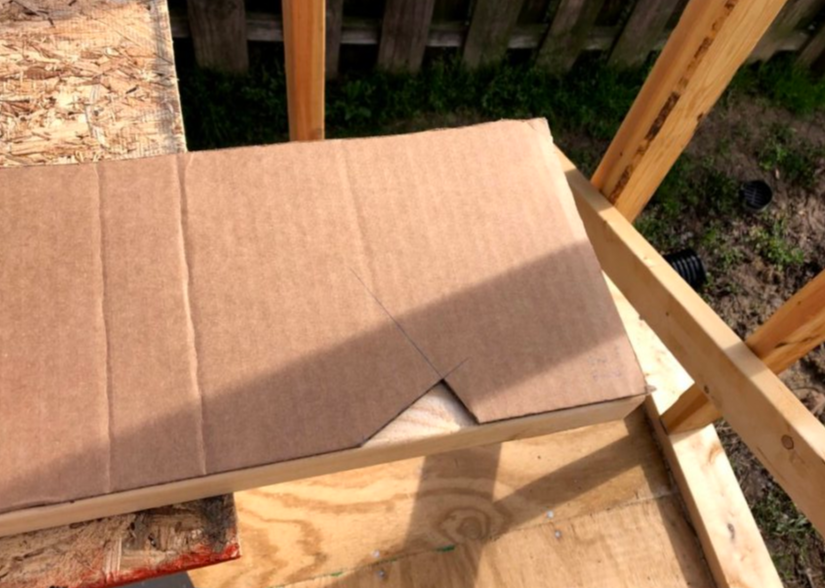
After cutting the top angles, it was time to add a birdís mouth to each end so the rafter would sit securely on top of the wall. To make that as easy and consistent as possible , I made a template out of cardboard, marked each board, then cut them with a jig saw.
Template applied.
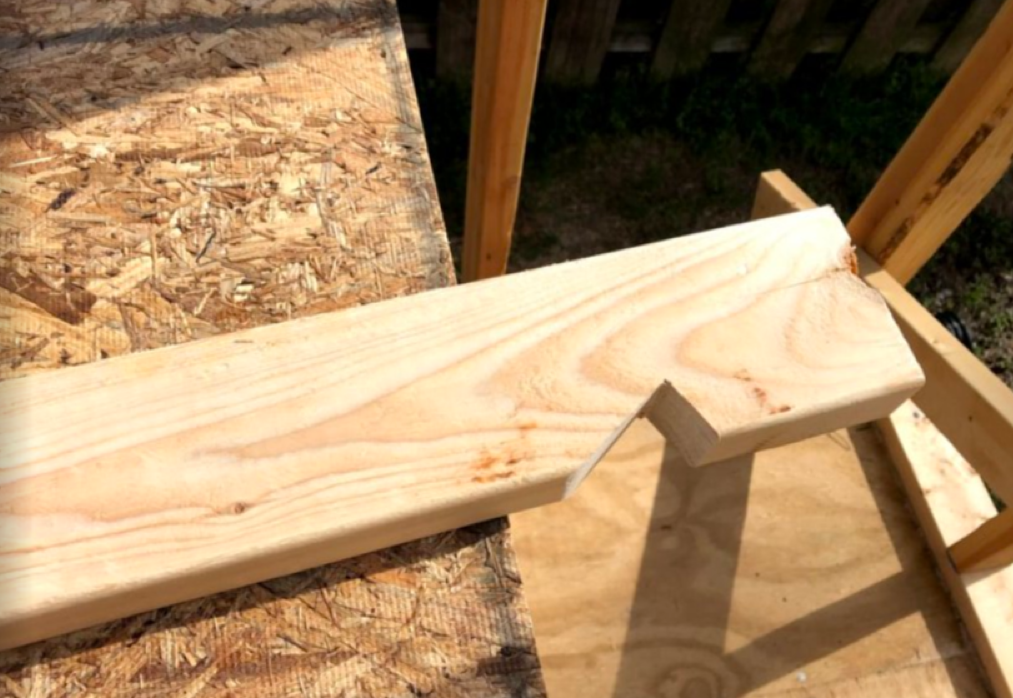
Birdís mouth cut
Then it was back to the floor where I could align the halves and add the gusset. I used the same center mark along with a couple of nails in the floor to set the correct angle.
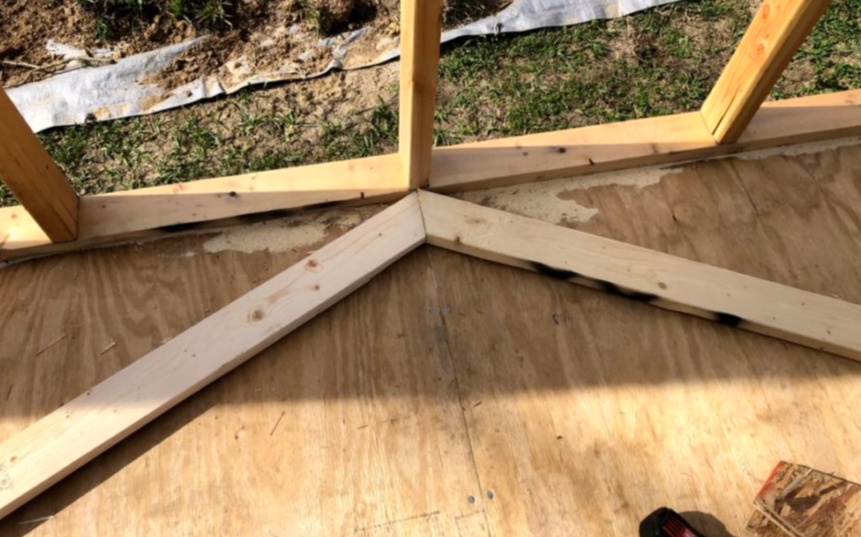
This one already has one gusset in place and a second one awaiting proper alignment and screws.
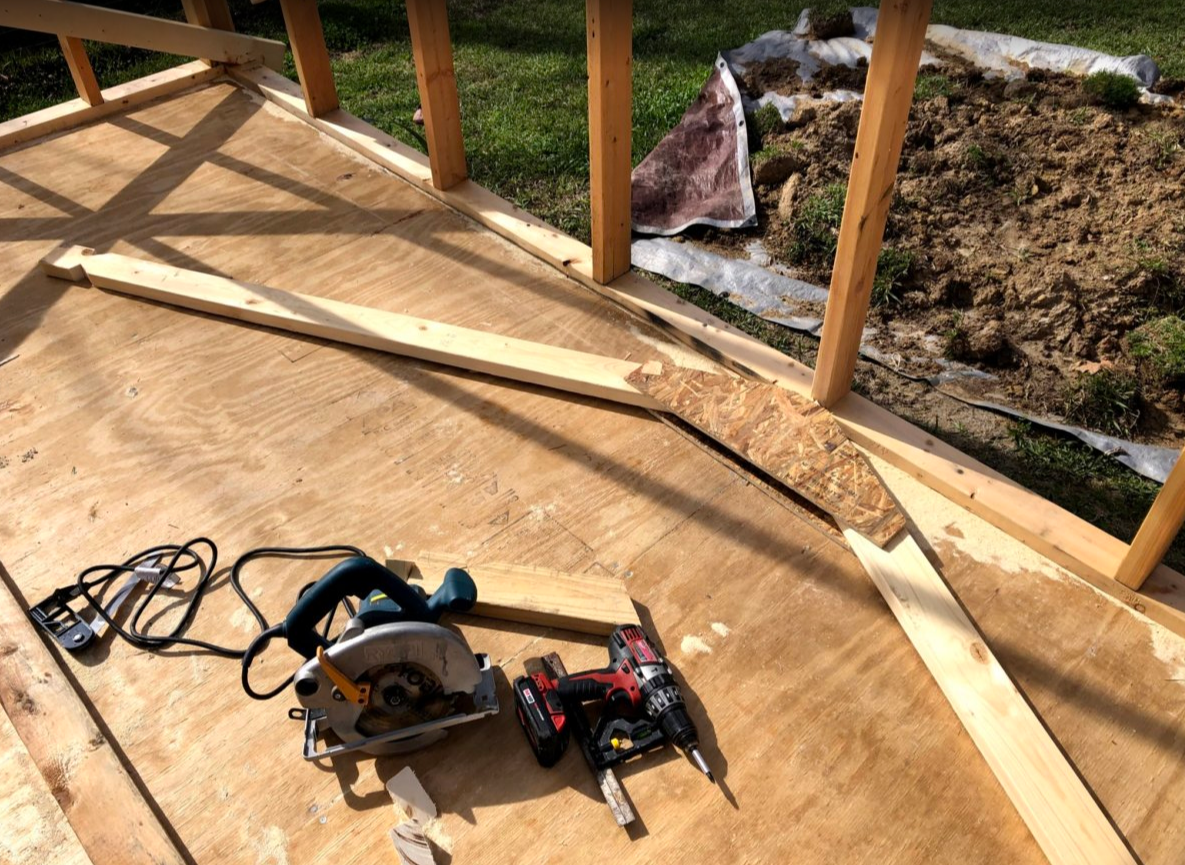
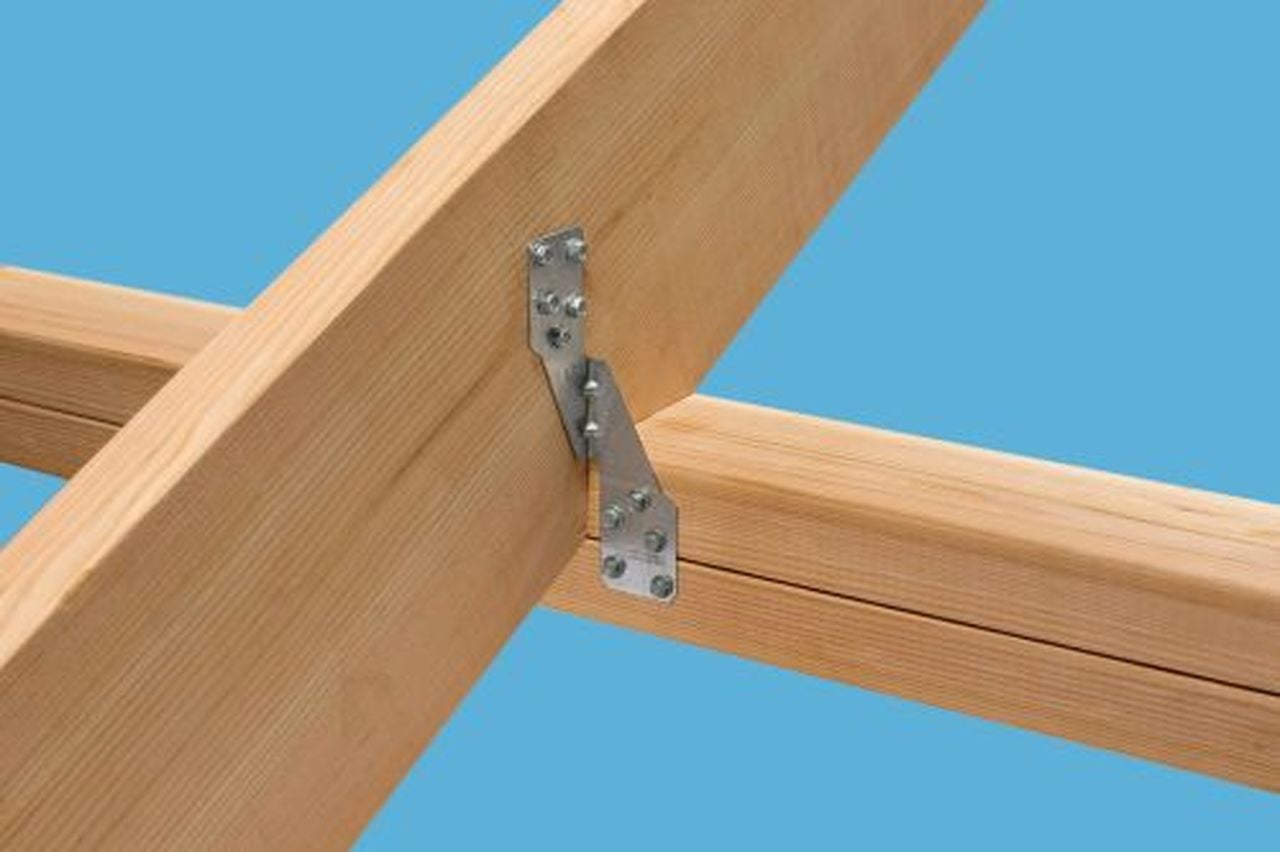
After that, it was just repeat the steps until I had them all made. My son and I worked together to get them on top of the walls and locked into place. I bought hurricane ties to attach them. The drill battery died before the first one went up, so e ach of them started with two nails. I added temporary supports so I could make the rafters plumb, then we went back and added screws once the battery was charged.
After that, we were running out of daylight, so we put away the tools and supplies. Next week... the roof!
 AestheticsInMotion
> TheRealBicycleBuck
01/19/2020 at 20:06 |
|
I'm really loving the updates. Can't wait to read the rest!†
 RallyDarkstrike - Fan of 2-cyl FIATs, Eastern Bloc & Kei cars
> TheRealBicycleBuck
01/19/2020 at 20:14 |
|
I wish I had skills to do things!
 TheRealBicycleBuck
> RallyDarkstrike - Fan of 2-cyl FIATs, Eastern Bloc & Kei cars
01/19/2020 at 20:24 |
|
Itís not that hard to learn, especially with Youtube as a resource . Just pick a project, get the tools you need, and go for it!
 VincentMalamute-Kim
> TheRealBicycleBuck
01/19/2020 at 20:51 |
|
Are screws supposed to be used to attach the hurricane ties?† Not nails?
 TheRealBicycleBuck
> VincentMalamute-Kim
01/19/2020 at 20:58 |
|
Nails or screws. The lumber yard provided screws with the kit.
ďThe Simpson Strong-Tie H2.5A Ties can be used as either left or right side ties in the middle of the run. The H2.5A Hurricane Ties connects the double top plate to the rafter or truss. This clip accepts 8d .131" x 1-1/2" joist nails or longer. You can also substitute the Simpson SD #9 x 1-1/2" Structural Screw.Ē
 shop-teacher
> RallyDarkstrike - Fan of 2-cyl FIATs, Eastern Bloc & Kei cars
01/19/2020 at 22:13 |
|
Like he said, it ain't rocket surgery.
 shop-teacher
> TheRealBicycleBuck
01/19/2020 at 22:13 |
|
Its coming along nicely!
 TheRealBicycleBuck
> shop-teacher
01/19/2020 at 22:32 |
|
Thanks!
 VincentMalamute-Kim
> TheRealBicycleBuck
01/20/2020 at 00:49 |
|
ah OK, thanks. They spec a specific structural screw. Iím used to nails being used in structural applications, not screws.
OTOH, this is a shed. So who cares. But I wanted to learn something.